Prerequisites
To get the most out of this guide, you’ll need to:- Create an account on Creem.io
- Have your API key ready
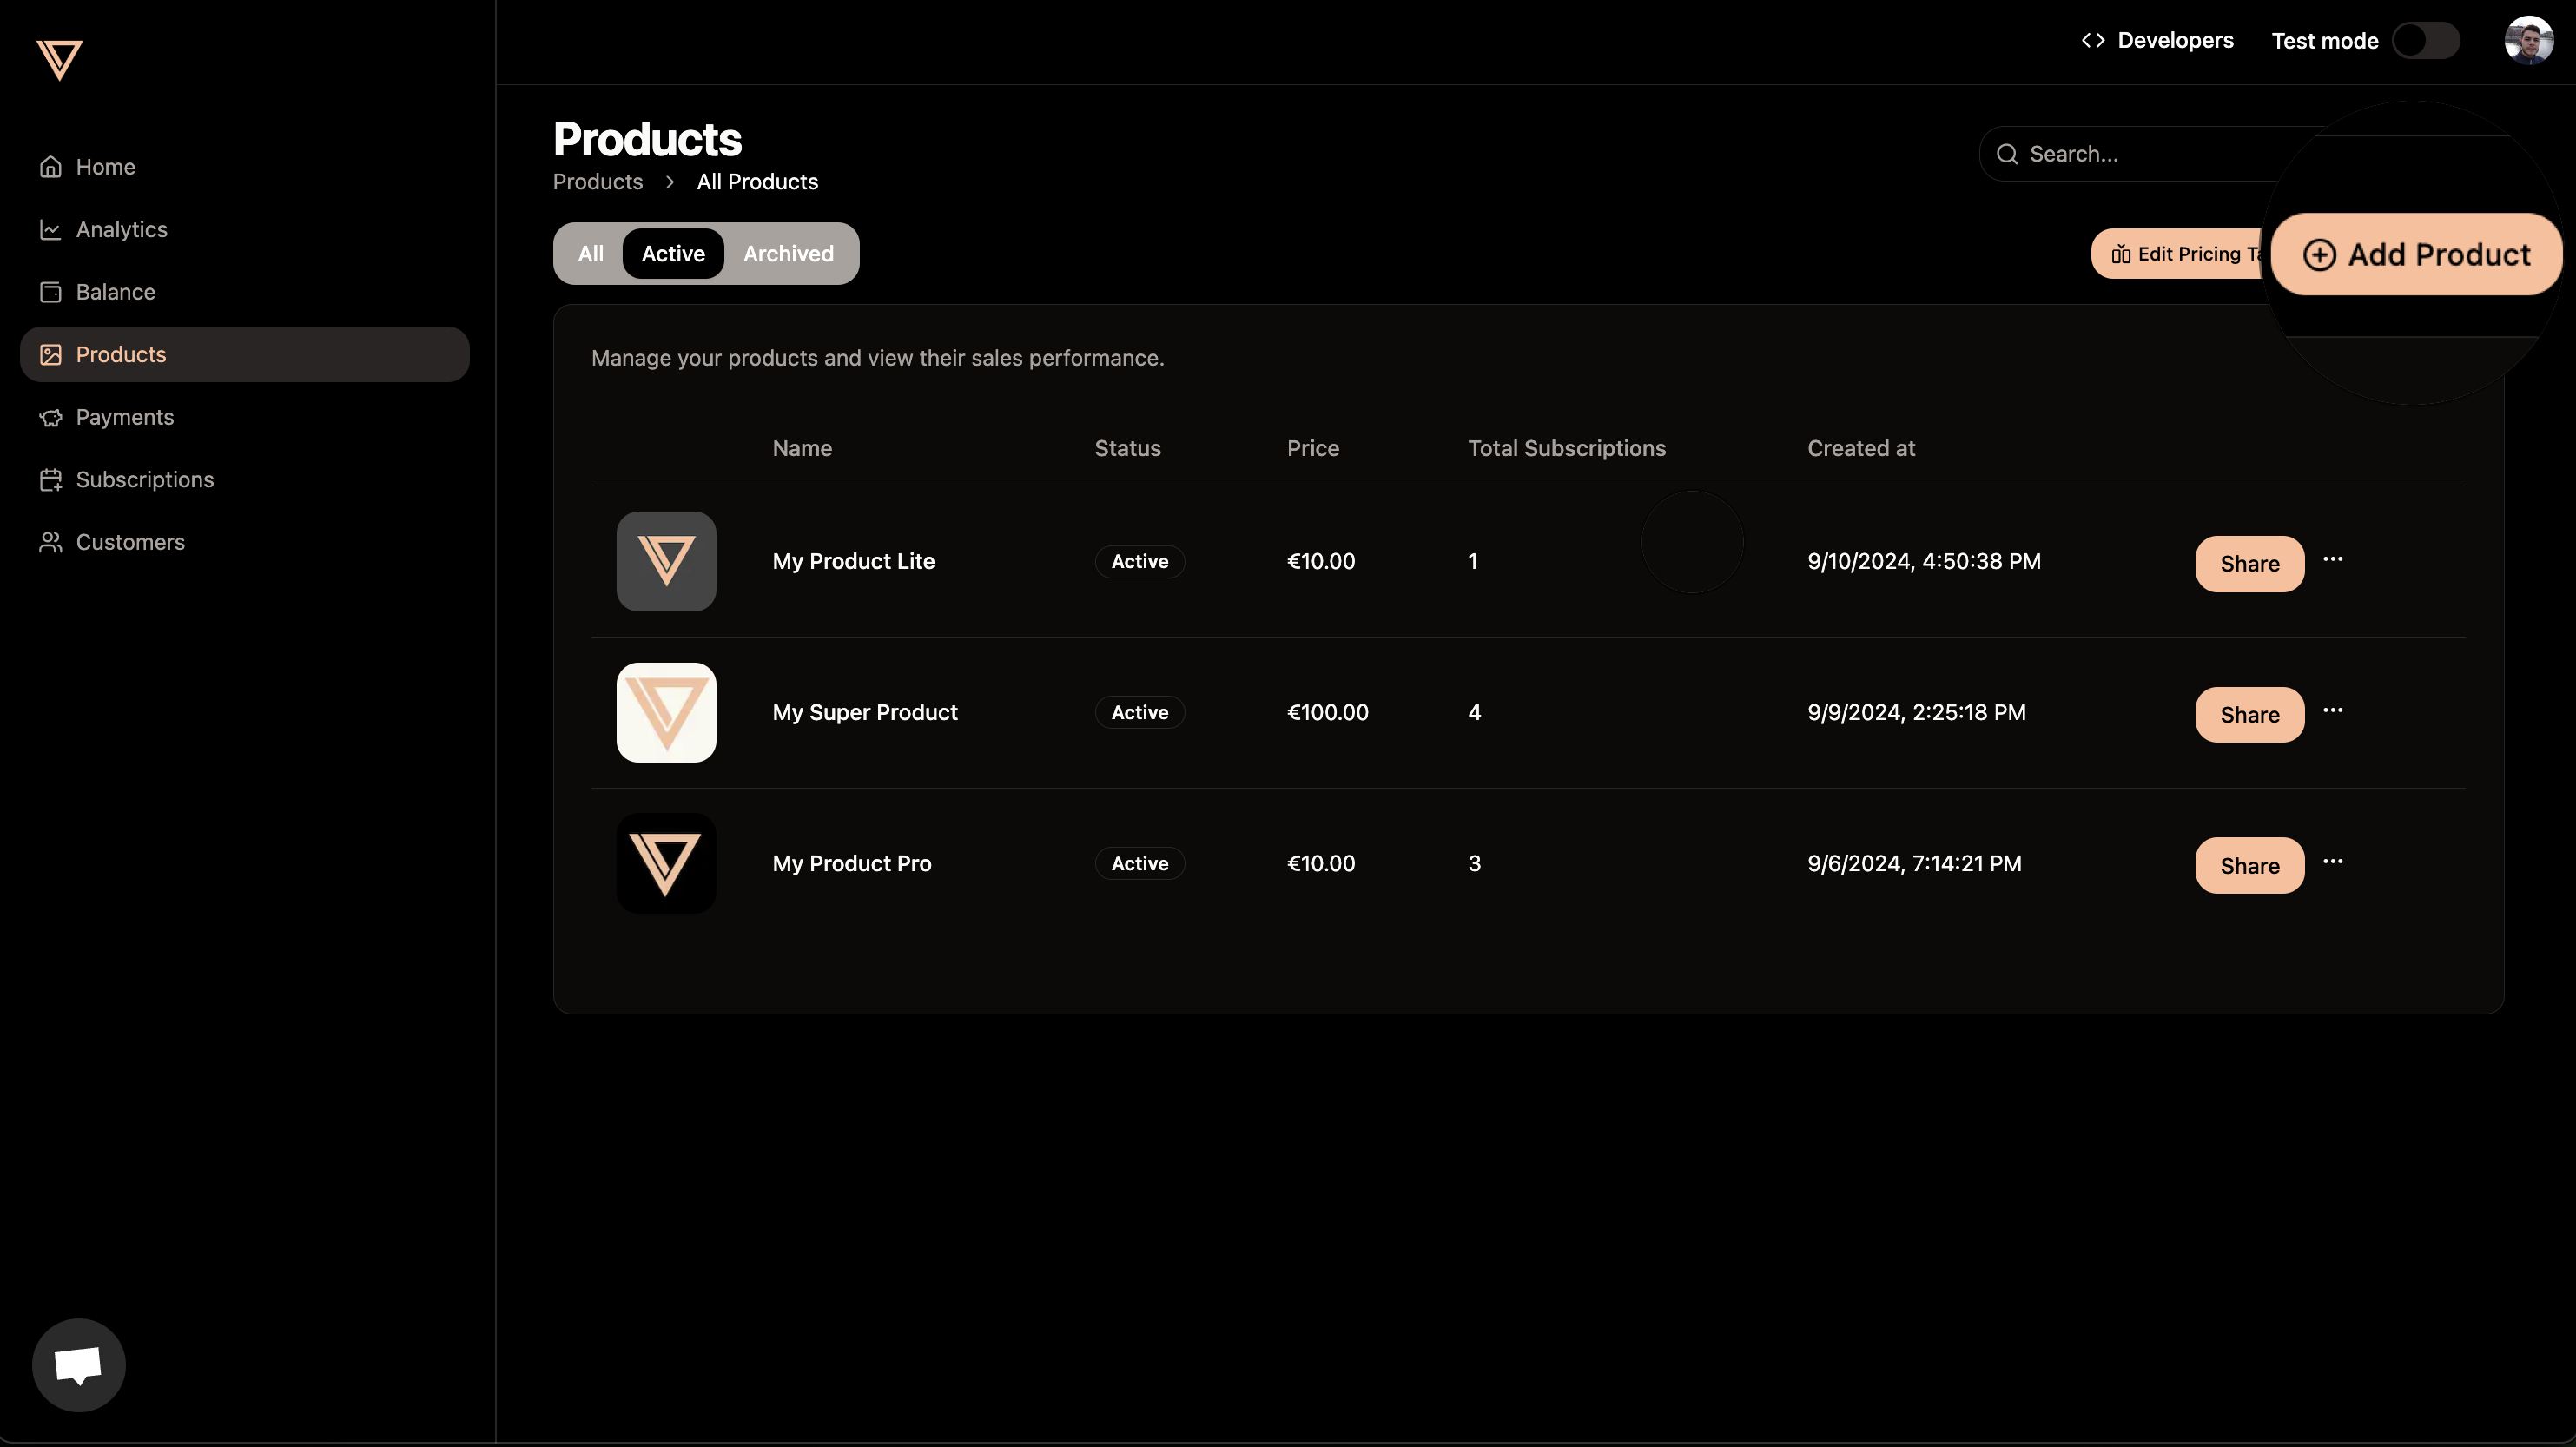
1. Create a product
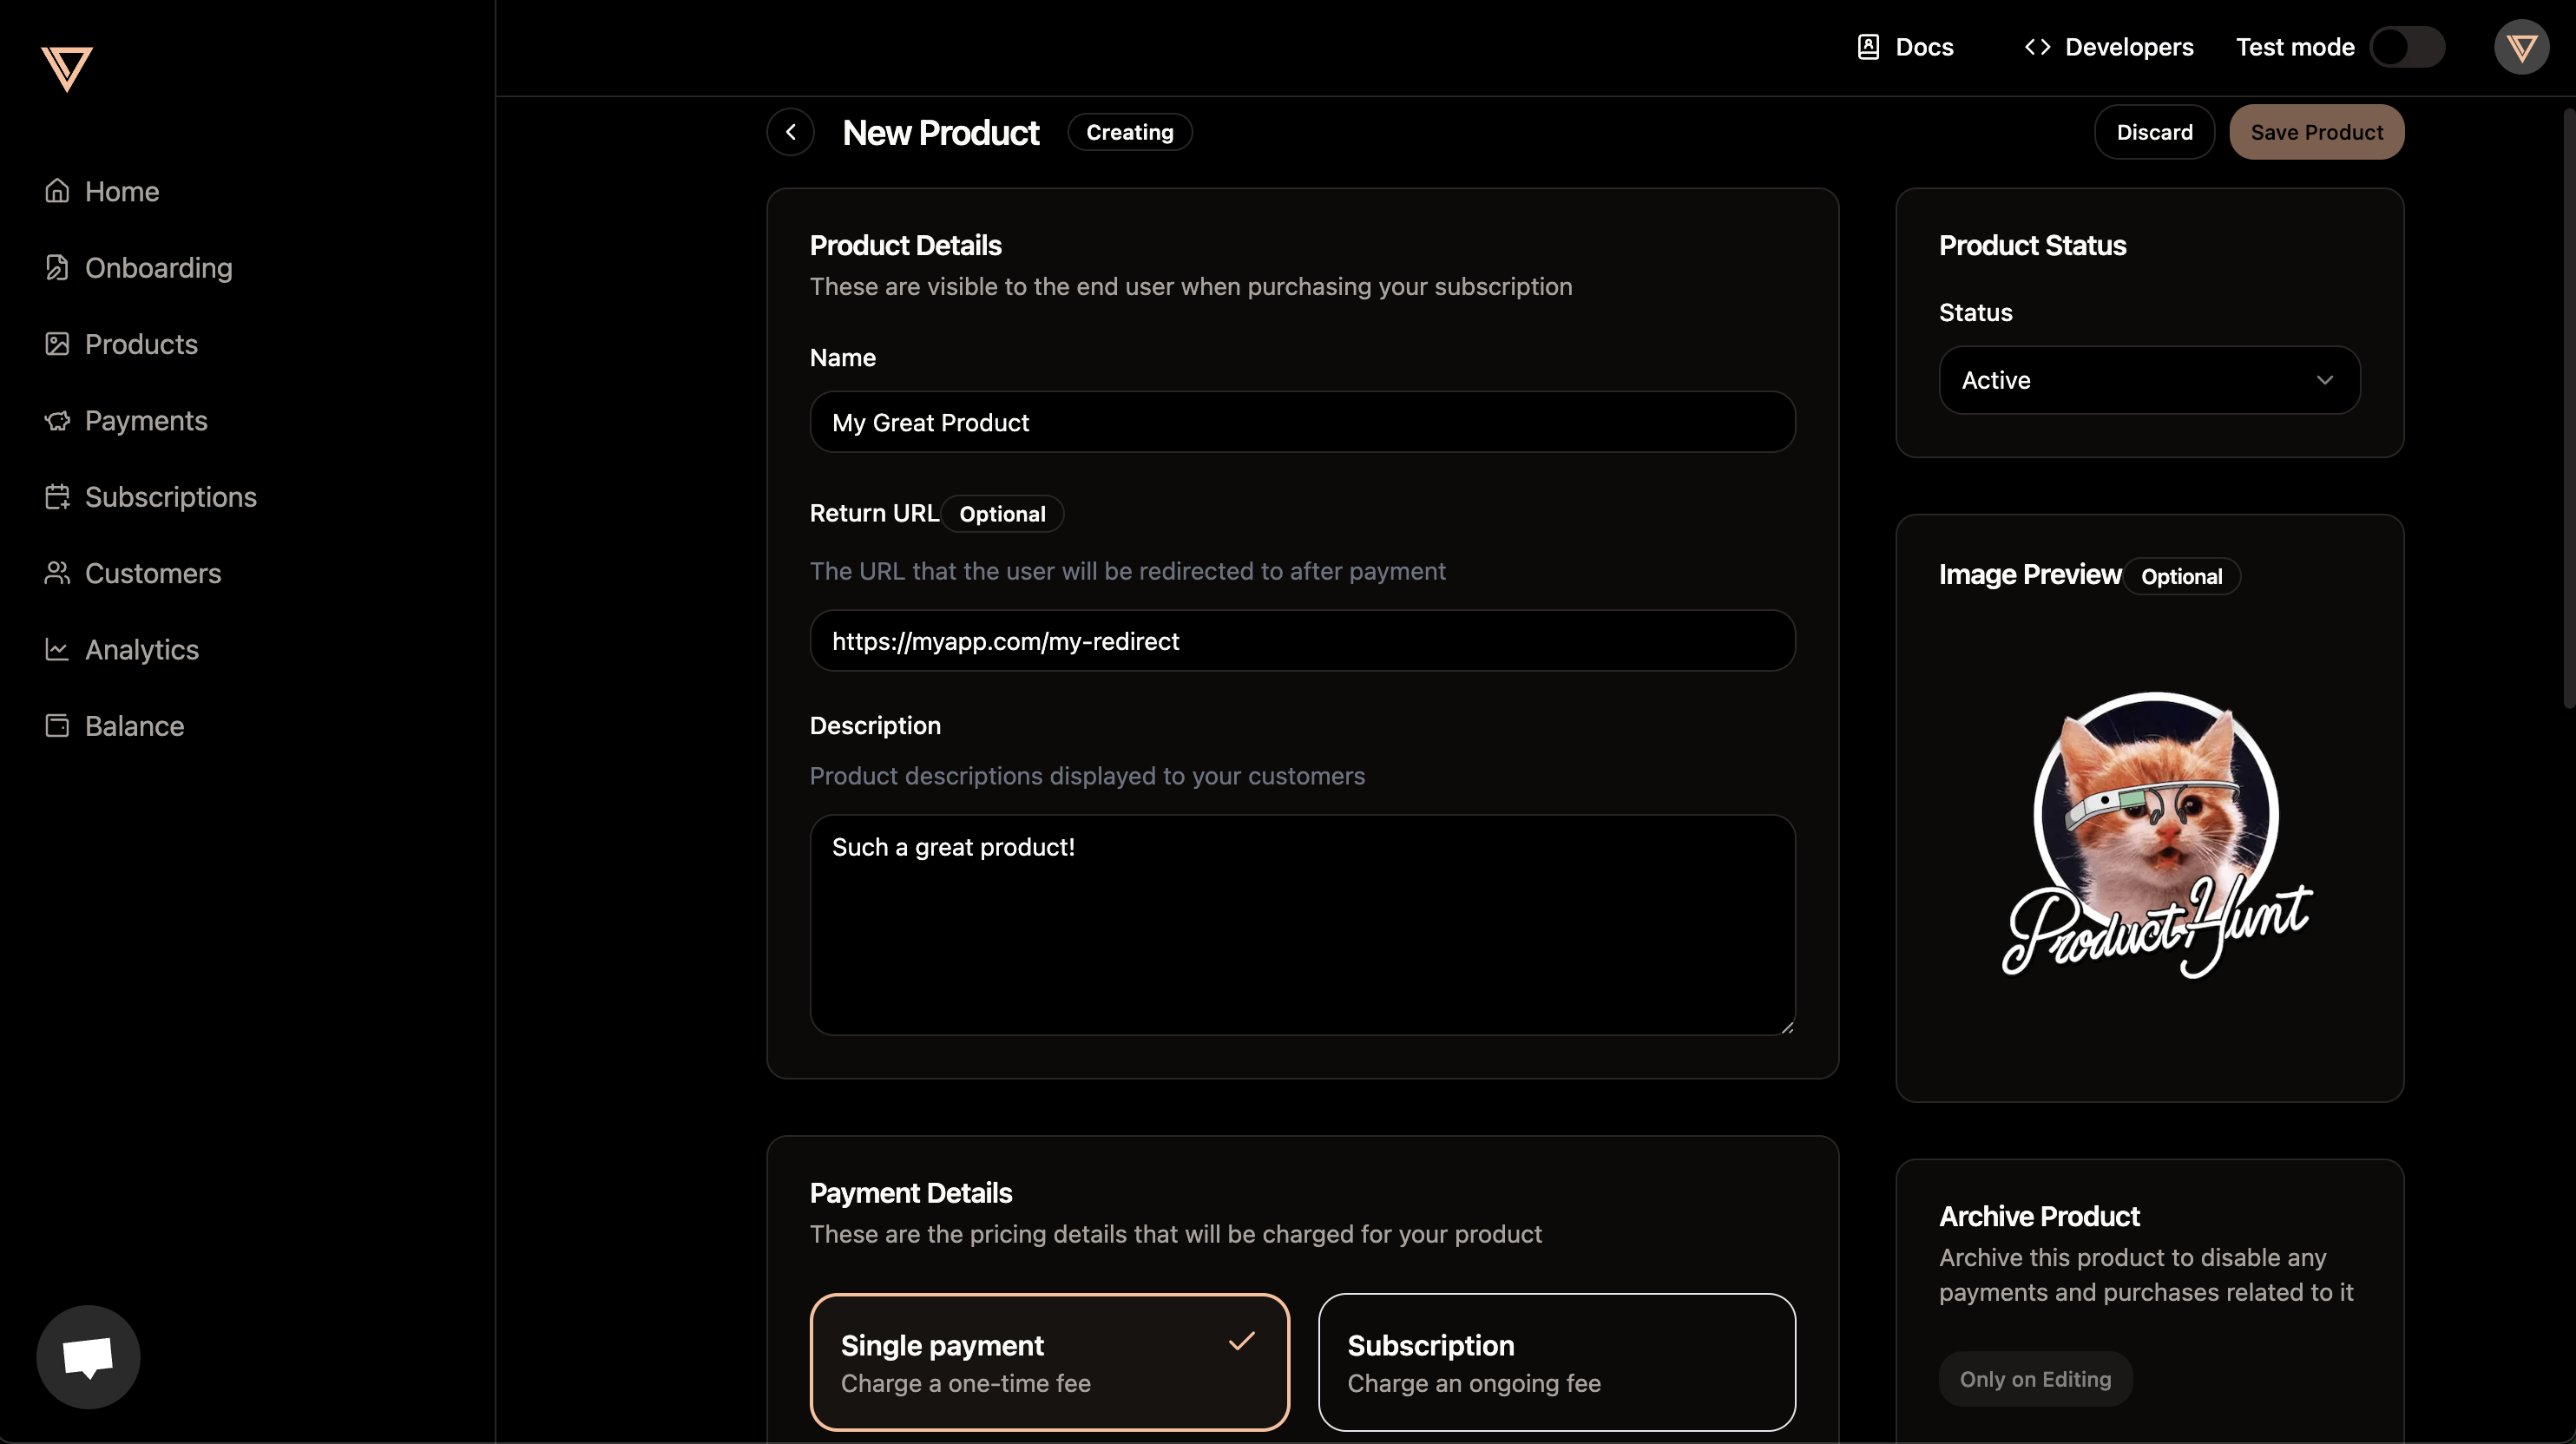
Go over to the products tab and create a product. You can add a name, description, and price to your product. Optionally you can also add a picture to your product that will be shown to users.Product page
Product page
Adding product details
Adding product details
2. Create a checkout session
Once your product is created, you can copy the product ID by clicking on the product options and selecting “Copy ID”. Install the package:3. Redirect user to checkout url
checkout_url in the
response. Redirect the user to this URL and that is it! You have successfully
created a checkout session and received your first payment.
Best practice: Redirect in the same window
Best practice: Redirect in the same window
For the best user experience, redirect to the checkout URL in the same window instead of opening a new tab. Some browsers like Safari may block popups opened with Avoid opening in new windows, as this may be blocked:
target="_blank" or window.open().Track payments with a request ID
Track payments with a request ID
When creating a checkout-session, you can optionally add a
request_id parameter to track the payment.
This parameter will be sent back to you in the response and in the webhook events.
Use this parameter to track the payment or user in your system.Set a success URL on the checkout session
Set a success URL on the checkout session
After successfully completing the payment, the user will be automatically redirected to the URL you have set on the product creation.
You can bypass this setting by setting a success URL on the checkout session request by adding the
success_url parameter.
The user will always be redirected with the following query parameters:session_id: The ID of the checkout sessionproduct_id: The ID of the productstatus: The status of the paymentrequest_id: The request ID of the payment that you optionally have sent
4. Receive payment data on your Return URL
A return URL will always contain the following query parameters, and will look like the following:| Query parameter | Description |
|---|---|
| checkout_id | The ID of the checkout session created for this payment. |
| order_id | The ID of the order created after successful payment. |
| customer_id | The customer ID, based on the email that executed the successful payment. |
| subscription_id | The subscription ID of the product. |
| product_id | The product ID that the payment is related to. |
| request_id | Optional The request ID you provided when creating this checkout session. |
| signature | All previous parameters signed by creem using your API-key, verifiable by you. |