License Key Management with Creem
Welcome to Creem’s License Key documentation! As a Merchant of Record specializing in Micro-SaaS and AI Businesses, we’ve built a powerful license key system that’s both flexible and secure.
Getting Started
Setting up license keys for your product is straightforward:
- Configuring
- Create a new product with a License key feature enabled
- Configure settings related to the licenses
- Set up your product integration or payment links for customer purchases
- Dealing wiht a license after purchases
- Enable the user to enter a license key in your application
- Activate a license key instance
- Validate a license key instance on subsequent usages
Step-by-Step Tutorial: Implementing License Keys
Let’s walk through the complete process of implementing license keys in your application. We’ll cover everything from initial setup to handling customer interactions.
Step 1: Creating Your Product
First, let’s set up your product in the Creem dashboard:
- Navigate to Products: Log into your Creem dashboard and click “Create New Product”
- Enable License Keys: In the product settings, enable the “License Key Management” feature
- Configure License Settings:
- Set activation limits (e.g., 3 devices per license)
- Define expiration periods (e.g., 1 year from purchase)
Step 2: Customer Purchase Flow
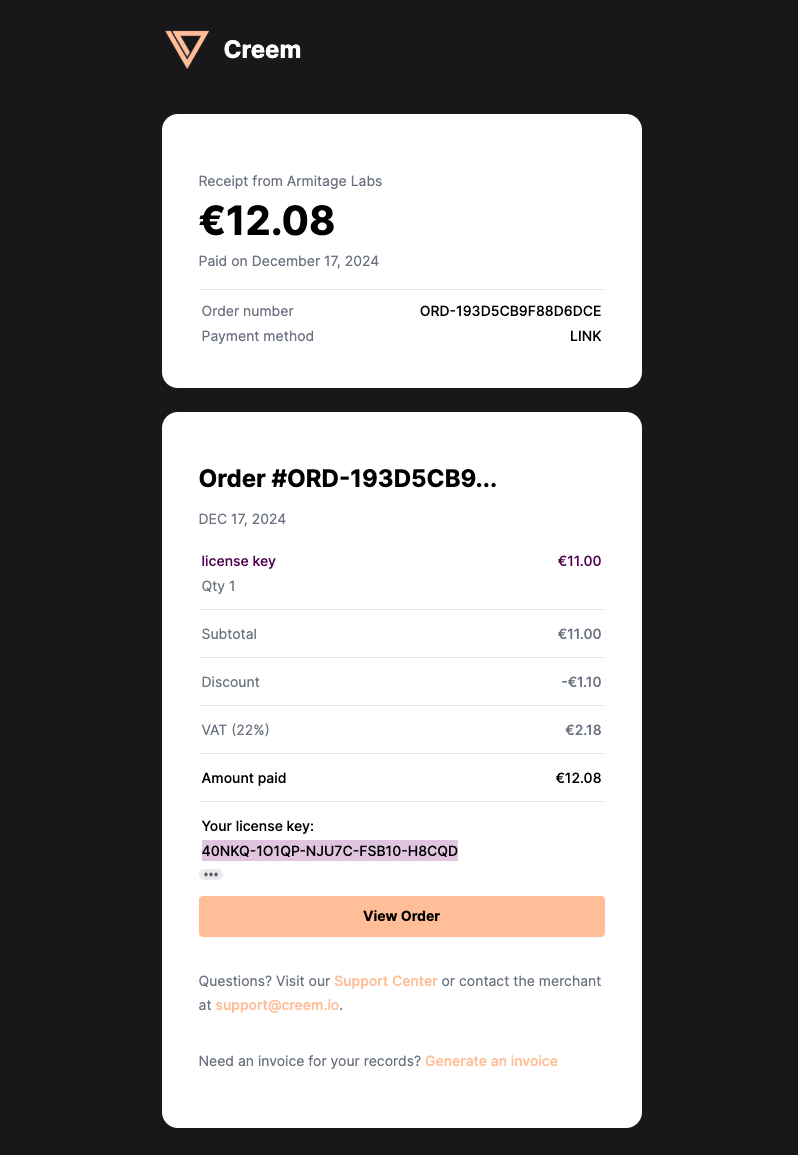
When a customer purchases your product, here’s what happens automatically:
- A unique license key is generated and associated with their purchase
- The key appears in their order confirmation page
- It’s included in their email receipt
- The key is accessible in their customer portal
Step 3: Implementing License Key Activation
Now comes the exciting part - implementing the license key system in your application!
- Create a License Key Input form or input field where users can enter their license key. This could be during:
- Initial app setup
- First launch
- Account creation
- Premium feature access
-
Implement the Activation Endpoint
const activateLicense = async (licenseKey, instanceName) => {
  const response = await fetch('https://test-api.creem.io/v1/licenses/activate', {
    method: 'POST',
    headers: {
      'accept': 'application/json',
      'x-api-key': 'YOUR_API_KEY',
      'Content-Type': 'application/json'
    },
    body: JSON.stringify({
      key: licenseKey,
      instance_name: instanceName
    })
  });
  return await response.json();
}
The InstanceName field is an arbitrary name of your choice.
Merchants usually use the internal customer ID, or customer email for quality of life maintainibility
Step 4: Ongoing License Validation
To ensure continued valid usage, implement regular license checks:
-
Validate on application startup
-
Check before accessing premium features
-
Periodically verify license status (e.g., daily)
-
Implementation Example:
const validateLicense = async (licenseKey, instanceId) => {
  const response = await fetch('https://test-api.creem.io/v1/licenses/validate', {
    method: 'POST',
    headers: {
      'accept': 'application/json',
      'x-api-key': 'YOUR_API_KEY',
      'Content-Type': 'application/json'
    },
    body: JSON.stringify({
      key: licenseKey,
      instance_id: instanceId
    })
  });
  return await response.json();
}
Step 5: Handling License Deactivation
There are several scenarios where you might need to deactivate a license:
-
User requests to transfer their license to a new device
-
Subscription cancellation
-
Suspicious activity detection
-
Deactivation Implementation:
const deactivateLicense = async (licenseKey, instanceId) => {
  const response = await fetch('https://test-api.creem.io/v1/licenses/deactivate', {
    method: 'POST',
    headers: {
      'accept': 'application/json',
      'x-api-key': 'YOUR_API_KEY',
      'Content-Type': 'application/json'
    },
    body: JSON.stringify({
      key: licenseKey,
      instance_id: instanceId
    })
  });
  return await response.json();
}
Best Practices
- Always validate license keys on startup and critical operations
- Implement offline fallback mechanisms
- Cache validation results to prevent excessive API calls
- Securely store API keys and never expose them client-side
Security Considerations
Creem’s license key system implements several security measures:
- Encrypted communication channels
- Automatic suspicious activity detection
- Regular security audits and updates
API Reference
For detailed API documentation, visit: