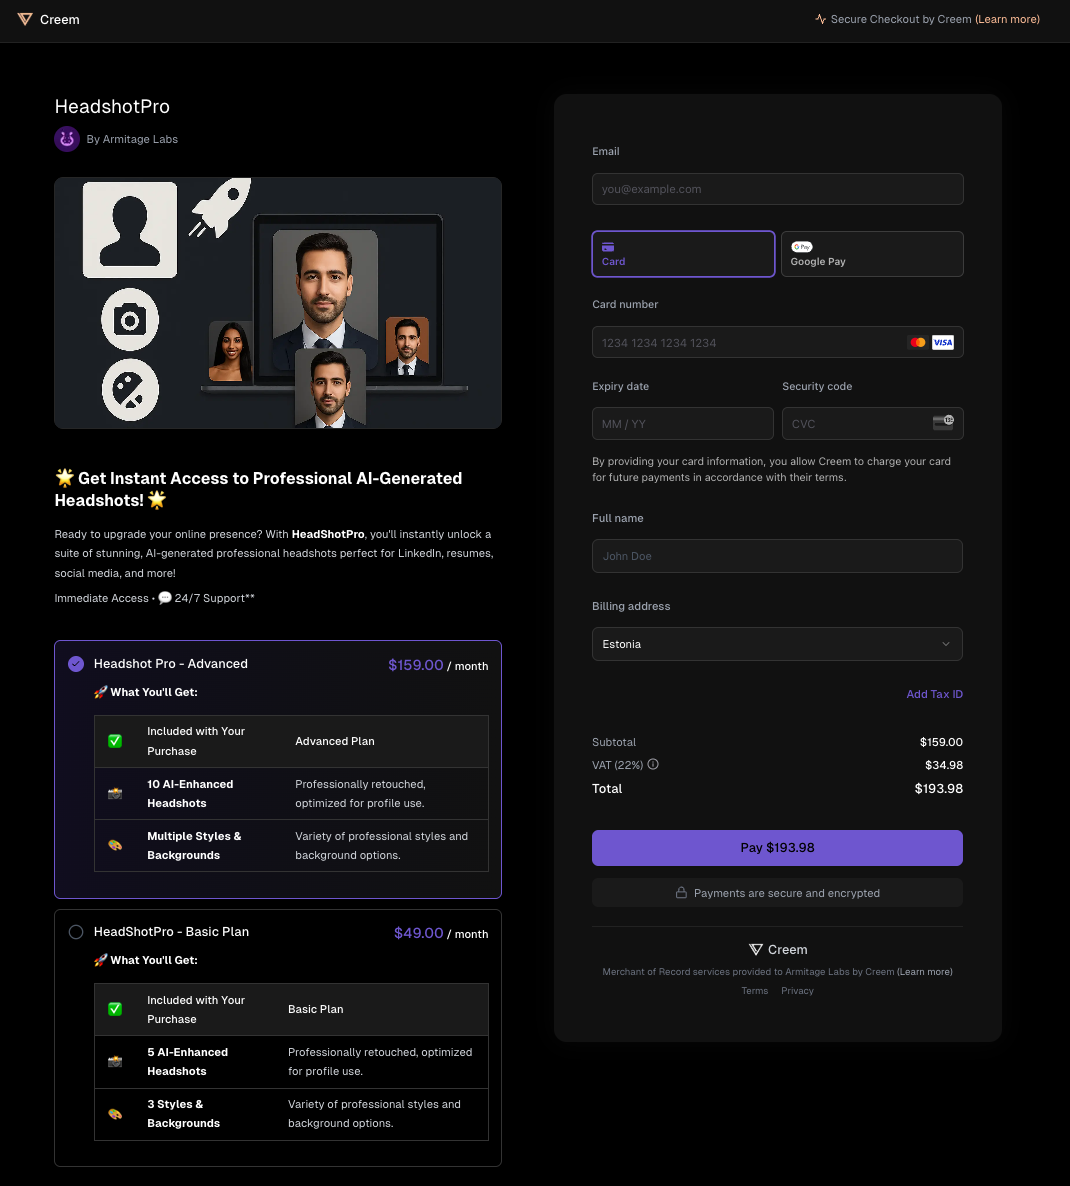
Why Customize Branding?
- Consistent brand experience from your app to checkout and receipts
- Build trust with your customers
- Increase conversion by reducing friction and confusion
How to Update Your Store Branding
Open Account Settings
Click your profile icon in the top right corner, then select Settings
for your current store.
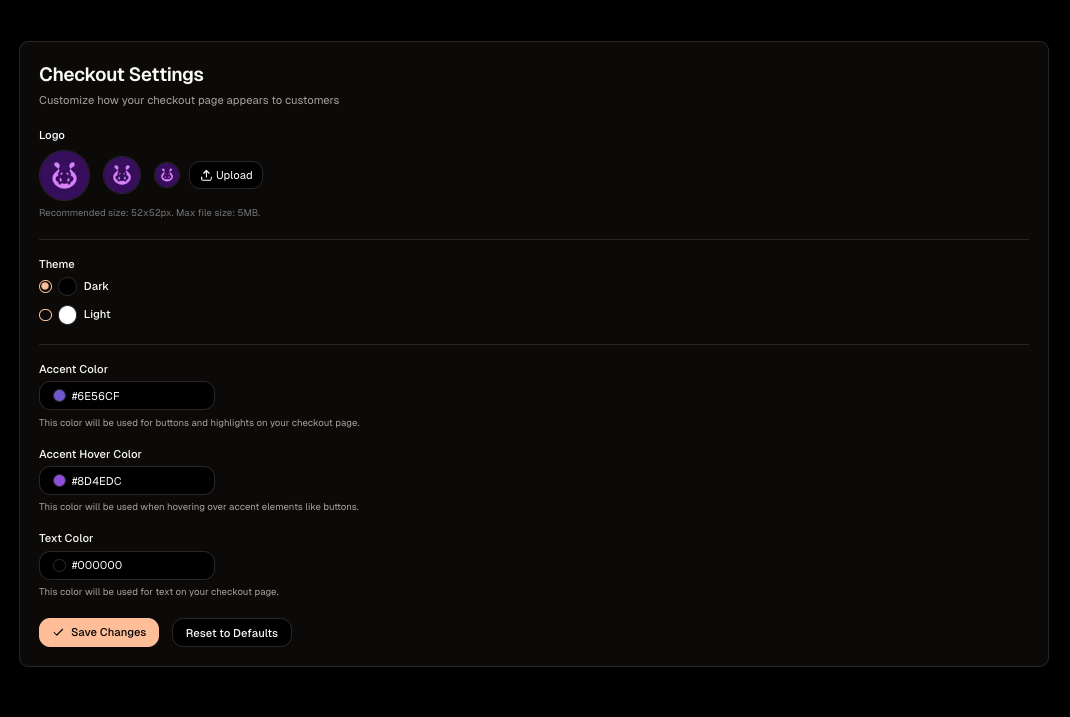
Customize Your Branding
- Upload your logo (used on checkout and email receipts)
- Select your default checkout theme (light or dark)
- Pick your accent color (used for buttons, upsells, and field borders)
- Set your accent hover color (for button hover states)
- Choose your text color (for dynamic buttons and component text)

Test Mode vs Live Mode
You can safely experiment with different branding options in Test Mode. These changes won’t affect your live checkout. When you’re ready, switch to live mode and apply your final branding for real customers.Programmatic Theme Selection
You can override the default checkout theme by appending?theme=light or ?theme=dark to your checkout URL before redirecting your customers.
Best Practices
- Use a high-contrast logo with a transparent background for best results
- Choose accessible color combinations for text and buttons
- Preview your checkout and email receipts in both light and dark themes
- Test your branding in test mode before going live